Initial Idea and Sketches
|
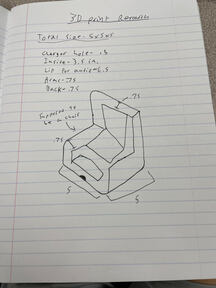
The Idea came up when I was assigned the project and it just popped into my head. I had initially thought of a toothbrush holder design, but the idea seemed too difficult to make in Inventor, so I settled for this. I also Wanted to make a design that was original, yet practical. The next class I opened inventor and created the initial design with the measurements I had written in the sketches on the Right. Soon enough I had a clear vision in my mind as to what It would look like.
|
|
|
Documentation and Process (The "Recipe")
|
I began with a basic Idea and sketch of a design I wanted along with the dimensions I felt would be Ideal for it. Most of that Process is shown above.
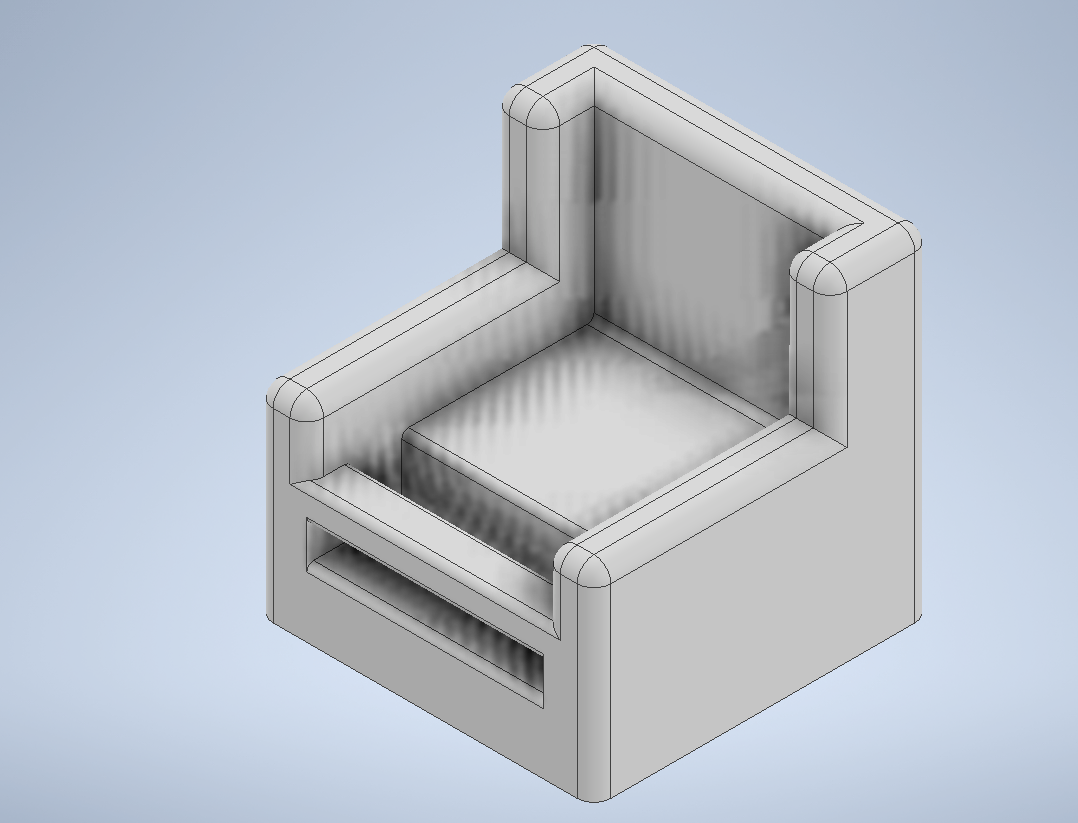
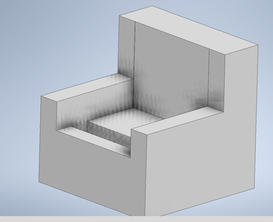
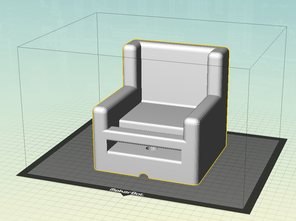
After I was happy with the sketch and dimensions I Went into Inventor and created a design fitting to the sketch with the addition of a hole at the bottom of the chair to let a cord through if Necessary, along with audio (shown in photo 2). The shape is fairly basic, so this step did not take as long as I expected. I wanted to eliminate the sharp edges in the design, So I used the Filet tool on a lot of the corners to smooth out the design and give it a more chair-like look. Lastly, I sent it to the 3D Printer, which process and photos are shown below. |

|
3D Printing (MakerBot and printer photos)
|
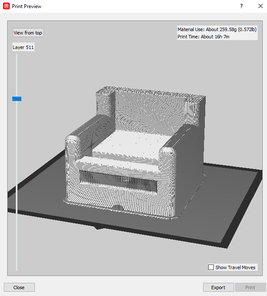
When I was done, I exported the file onto my h drive and Went into MakerBot to do my final dimensioning and preview. When In MakerBot, I made sure to keep the piece at the right dimensions to avoid making it go to big or small. I went to the preview screen to make sure the outcome was what I wanted it to be, then finished it up and exported it to my Flash drive as the MakerBot format.
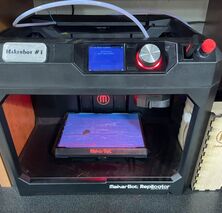
Once there it was mostly rinse and repeat from the Inventor widget project, that being the selection on the 3D Printer of my file, waiting for it to heat up, and walking away to get my project the next day. |
|
|
Final Project
|
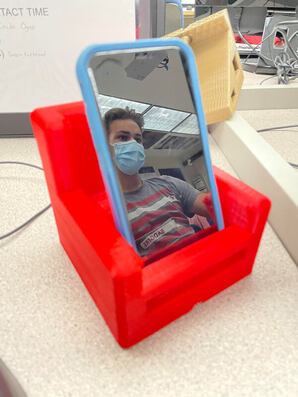
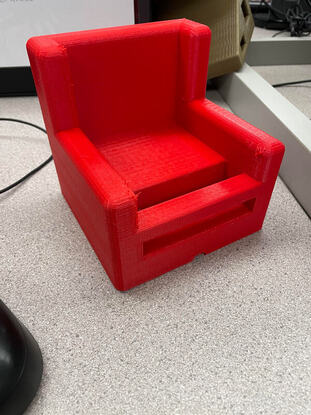
About 16 Hours later, I was presented by the 3D Printer with the final product, with supports that I had to take off of course. I am overall satisfied with the completion, though I wish the seat itself was a little smaller so The phone was leaning on the back instead of levitating from the groove at the bottom. Overall, it looks good and functions well!
|
|
|
Summary
I learned a lot during this project, even If I didn't realize. I learned how to make specific cuts in the part to allow more functionality in the phone, such as with the hole on the bottom. I learned the filet tool by using it to smooth out the corners and make the design look smoother and more chair-like. Lastly, I learned How to manage supports, what they do, and how to remove them from the finished product. This was overall a really fun process and I hope to be able to make more similar to it in the future.
