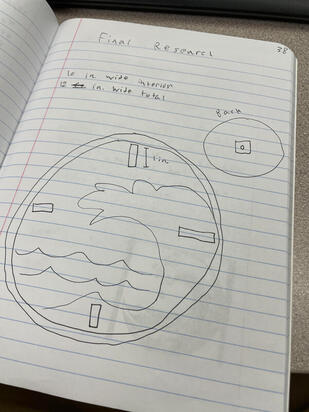
Initial Ideas and Research
|
To begin the final I actually had a pretty solid Idea of what I wanted to do. I found an image of what would work and based my design off of that. For the body I had wanted a ring around the outside to make it look like a normal clock, but that made it too big, meaning the piece wouldn't fit in the printer. I had to make an edit to the piece to make the piece both fit in the printer and allow the hands to function. I ended up reducing the size by a few inches to allow it to print in the end. I would use the Vinyl cutter to make a decal for the face and use the laser to make lines representing the 12, 3, 6, and 9 numbers which would later be changed to just be the numbers.
|
|
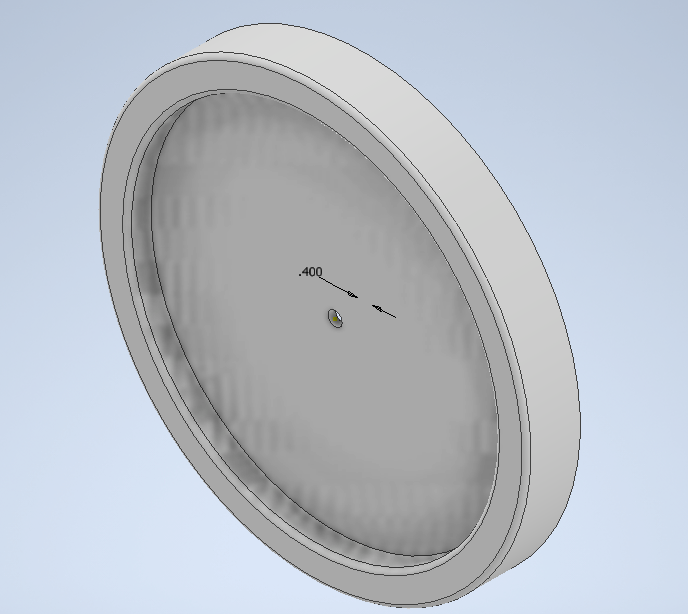
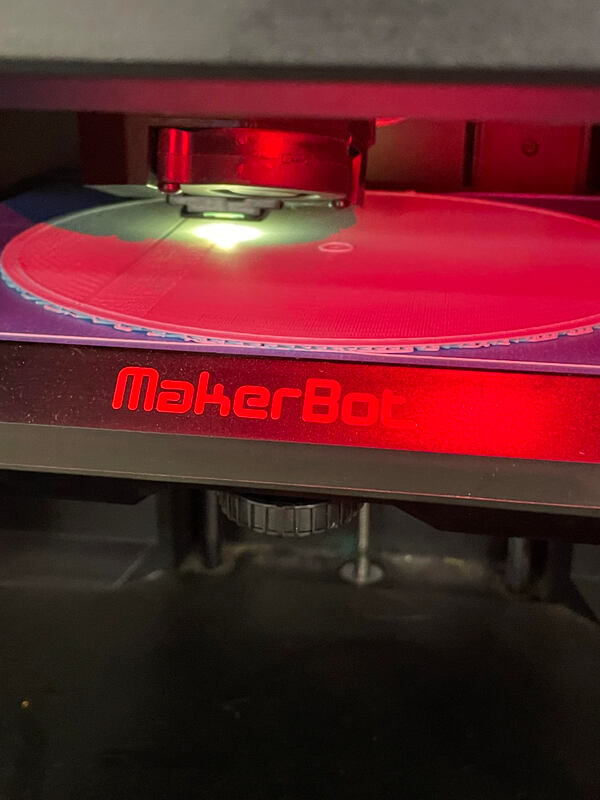
3D Printing (Body)
|
As you can see above, my original design would have worked, but it would have been much too big for the 3D printer, meaning I would have to redo it or print it in quarters. I chose to redo it, making the body much smaller and removing the outer ring allowing the hands to fit. I figured it was good, so I went to print it. Unfortunately I made the pocket for the clock mechanism too small, so yet another adjustment had to be made this time for the pocket for the mechanism. The second iteration ended up printing weirdly, but I had to work with it.
|
|
|
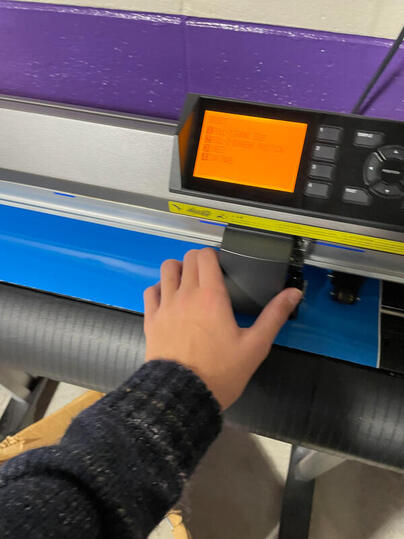
Vinyl (Decal)
|
The vinyl was a fairly simple Idea. I found a wave design on the internet, put it into Illustrator, and formatted it to fit in a circle the right size, and it was off to the vinyl cutter. I had encountered a few errors with the machine and computer, but I pushed past those and soon the decals were cut out and ready to be placed onto the clock. In fortunately, I had to complete the clock at home, which led to me not have transfer tape, which meant I couldn't correctly put the decal onto the face. I was able to for the white circle I made as a backdrop, which I got to fit a little big on the body.
|

|
|
Laser (Numbers)
|
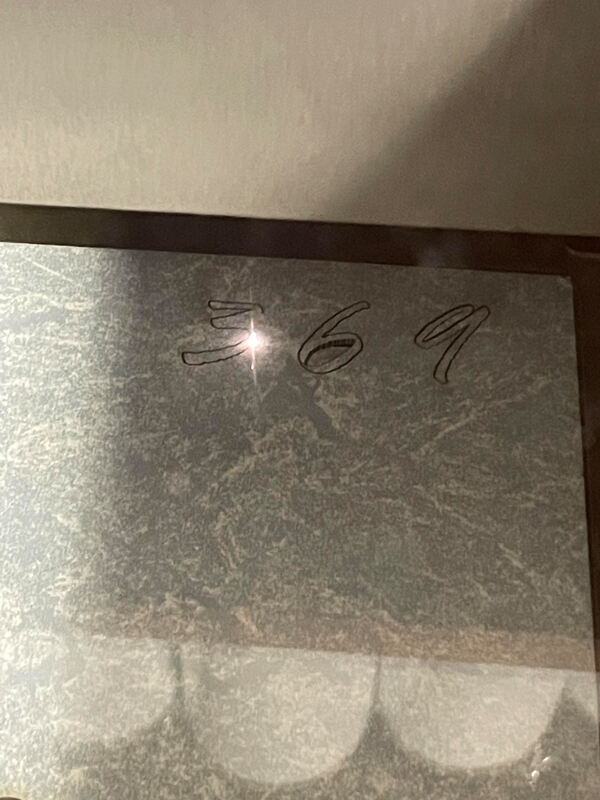
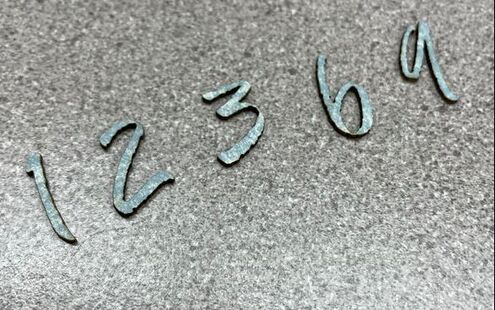
The numbers were the easiest portion of the project in my opinion. They were mainly done because I needed a third project. This one was just a quick matter of typing the numbers in, formatting them to get a red thin outline, and going to the laser to cut them out of the mat board. IN only about 40 minutes the pieces were ready to be placed on the clock!
|
|
|
Putting it together/Finished Product
|
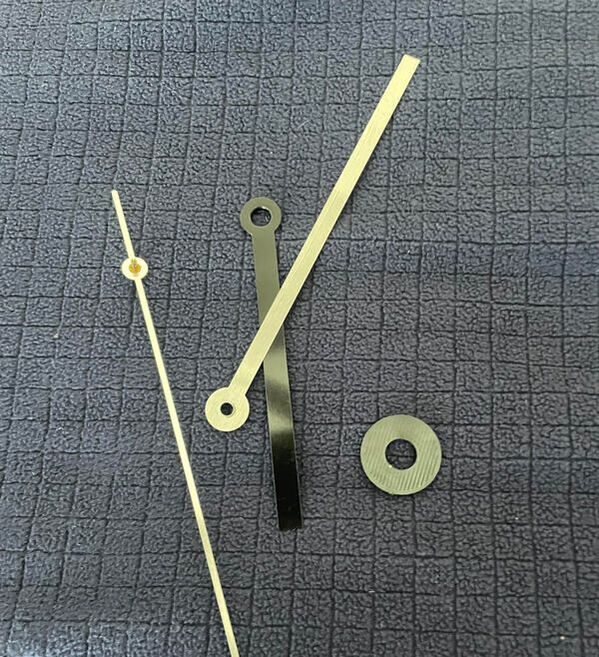
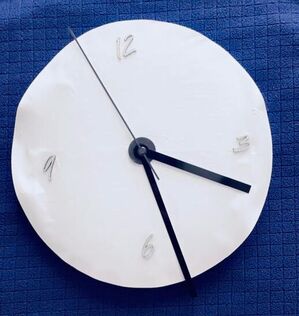
With all of my pieces here and ready, It was time to get it ready to be put all together. First, I put the white decal onto the body, but it was just a little big so It overlapped a little bit. Next, I placed the numbers in their correct places. I just secured them with some glue, and it was onto the harder part - the clock mechanism. I had to assemble it using a google slide for reference, and it took me a few attempts to get it right, but In the end I had a finished, working clock!
|
|
|
Summary
This project was the most difficult one by far, of course with it being the final project. I certainly learned to not use a 3D printer to print a bigger object, as it will probably screw up. Overall, it went about as well as I thought it would be, with the project getting done but it being a little shaky in the end. Unfortunately, a lot of my progress was halted due to Covid, but I get it done, and that's what really matters to me.
